
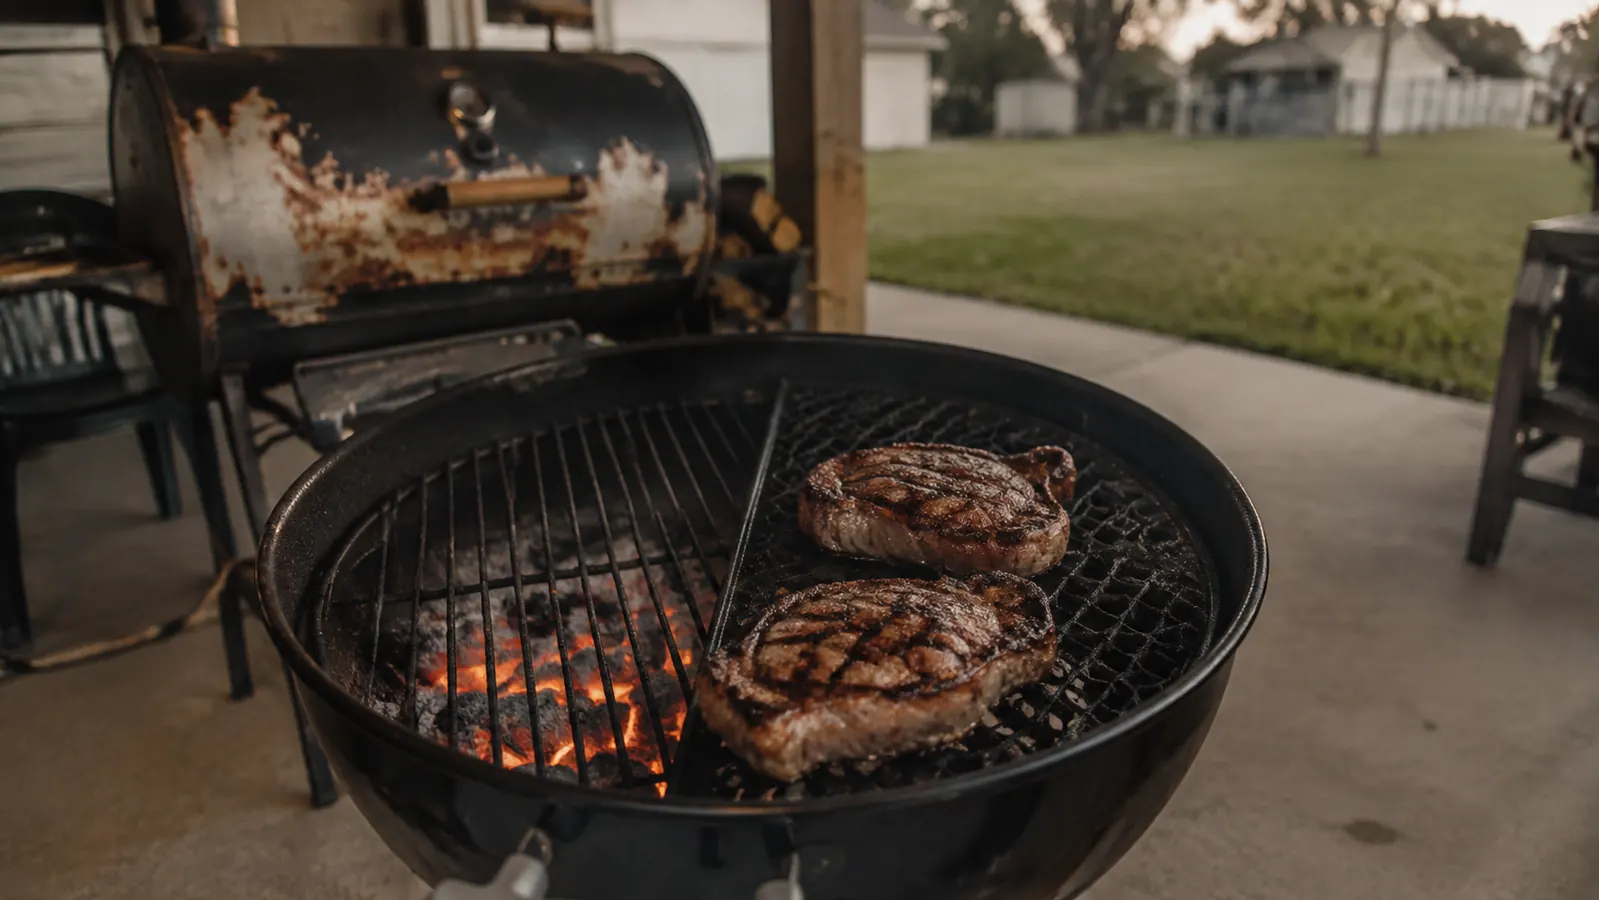
Every steakhouse sear mark you have ever admired came off a surface holding real heat, not just a hot flame sitting somewhere underneath it. I spent a couple of years wondering why my ribeyes came off my kettle looking pale and streaky when the coals underneath were plenty hot, and the answer had nothing to do with my fire. It was the grate. Once I swapped one side of my 22.5-inch kettle for the Weber Gourmet BBQ System sear grate, a porcelain-enameled cast iron insert built for exactly this job, I stopped guessing and started getting the deep, dark crosshatch marks I had been chasing for years. This is the method I have settled into after a full year of steak nights on that Weber grate, the same five steps in the same order every time, and it works whether you are running a Weber kettle like mine or any grill that will hold cast iron over direct heat.
The method itself is not complicated, but almost every mistake I made in my first few months on the grate came down to rushing one of five steps. Wet meat, a grate that was not actually hot yet no matter how it looked, oil in the wrong place, moving the steak before the crust had a chance to set, or pulling it off the second it looked done instead of letting it rest. Fix those five things and a cast iron sear grate will make an ordinary Tuesday steak look like a plate you paid too much for. Skip any one of them and you are back to the faint, streaky marks that sent me looking for a better grate in the first place.
Still Getting Pale Marks Off a Grate That Should Do Better?
This whole method depends on cast iron that actually holds heat, which a thin stock grate was never built to do. The Weber Gourmet BBQ System sear grate is the porcelain-enameled cast iron insert I use for every step below. See today's price and current availability on Amazon.
Amazon Check Today's Price on Amazon →Step 1: Dry the Steak Completely Before It Ever Touches the Grate
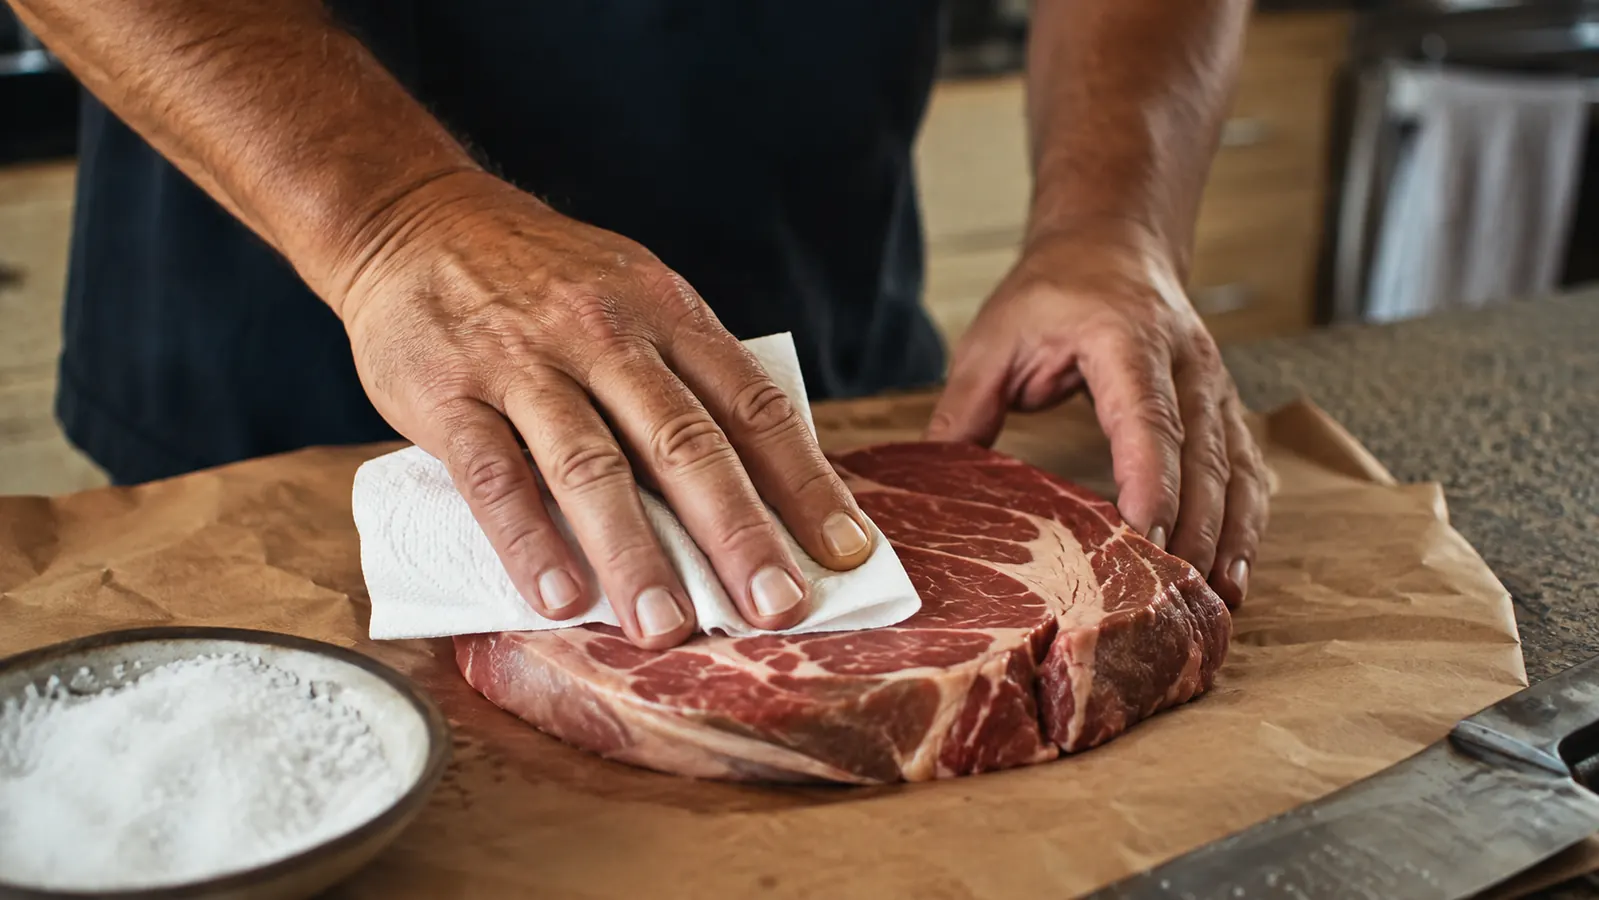
This is the step almost everyone skips or rushes, and it matters more than anything you do with the fire. Any surface moisture on the meat has to boil off before real searing can start, and while that water is evaporating, the surface underneath is stuck near the boiling point instead of climbing toward the temperature that actually browns meat. Pat the steak down hard with paper towels right after you take it out of the package, then again a second time closer to cook time. Two passes, not one, and press rather than wipe.
I salt my ribeyes ahead of time now, usually an hour or two before they go outside, and leave them uncovered on a rack in the fridge. The salt draws moisture out early, and the dry, cold air of the fridge does the rest of the drying for me while the salt has time to work its way in rather than just sitting on the surface. Out here on the Gulf Coast the air itself carries moisture most of the year, so a steak that felt dry on the counter can pick some of that back up by the time you walk it out to the grill. I give mine one last blot with a paper towel right at the back door, no exceptions, humid evening or not.
Step 2: Preheat the Cast Iron Longer Than You Think It Needs
This is the step everyone rushes, and it is the single biggest reason a cast iron sear grate disappoints people who just bought one. A thin stock grate heats up in a couple of minutes because there is almost no metal there to warm. Cast iron is a different animal entirely, and I laid out the actual temperature numbers behind that difference, logged with an infrared thermometer, in my comparison against the stock cooking grate. It has real mass, which is exactly why it holds heat so well once it is hot, but that same mass means it takes genuine time to get there in the first place. I bank a full chimney of hot coals directly under the Weber sear grate and close the lid for a full ten to fifteen minutes before the first steak goes anywhere near it, longer if the wind is doing what it usually does off the water here.
You can tell the grate is not ready yet the same way I learned the hard way, by laying meat on it too soon and watching the marks come out gray instead of dark. A better test is to hold your palm a few inches above the grate surface, not touching it, and count how long you can leave it there. If you can comfortably hold it for more than a couple of seconds, the iron has not built its reserve yet. Give it more time before the fire, not more heat under a cold grate, because cast iron amplifies whatever fire you give it rather than manufacturing heat on its own.
Step 3: Oil the Meat, Not the Grate
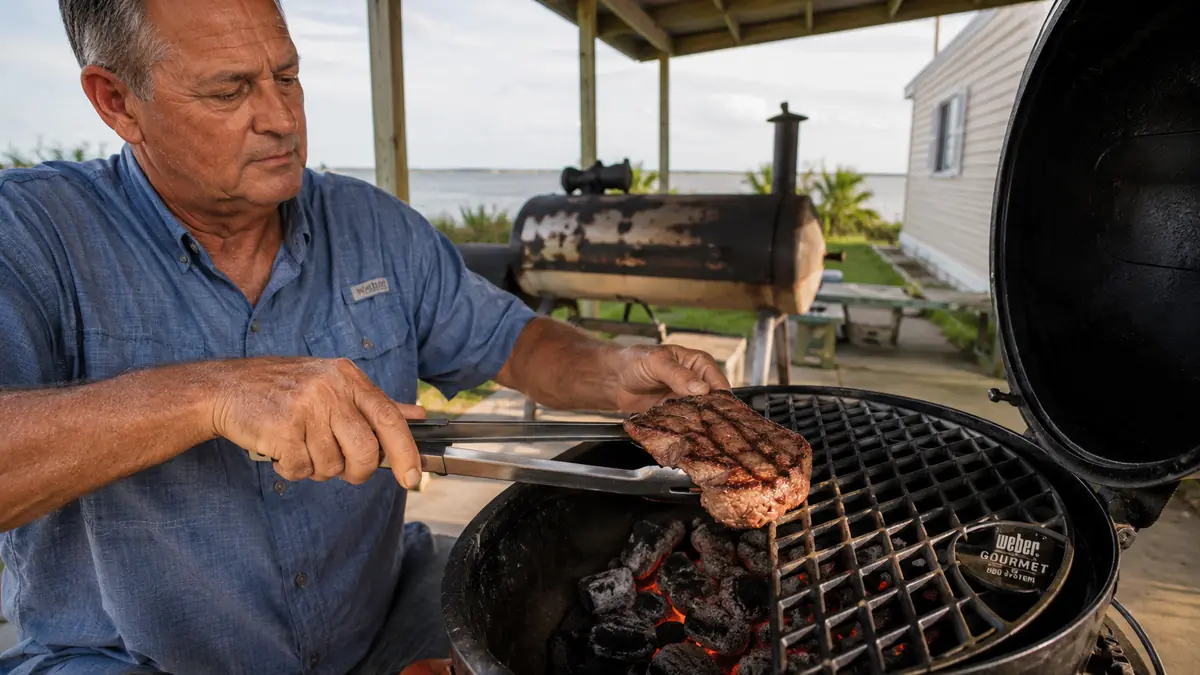
I used to oil the grate before every cook out of habit from the stock wire grate days, and it took me a while to notice that on cast iron it was working against me. A well seasoned Weber sear grate already releases meat cleanly once a real crust has formed, and pouring oil onto hot cast iron tends to smoke hard and pool unevenly in the channels between the ridges, which gives you patchy dark spots instead of a clean crosshatch. Oil goes on the steak instead, a light coat of something with a high smoke point rubbed in right before it goes on the grate, not the metal underneath it.
This matters even more with the ridged surface a sear grate has compared to a flat pan. The ridges are what actually contact the meat and leave the marks, and if the meat itself is lightly oiled, contact stays even across every ridge it touches. Oil on the grate instead just means the flat channels between the ridges get slick while the ridges themselves stay drier than you want, and that is a big part of why some people never get marks as dark as they expect even after buying a proper cast iron grate.
Step 4: Lay It Down, Hold Your Position, Then Rotate for the Crosshatch
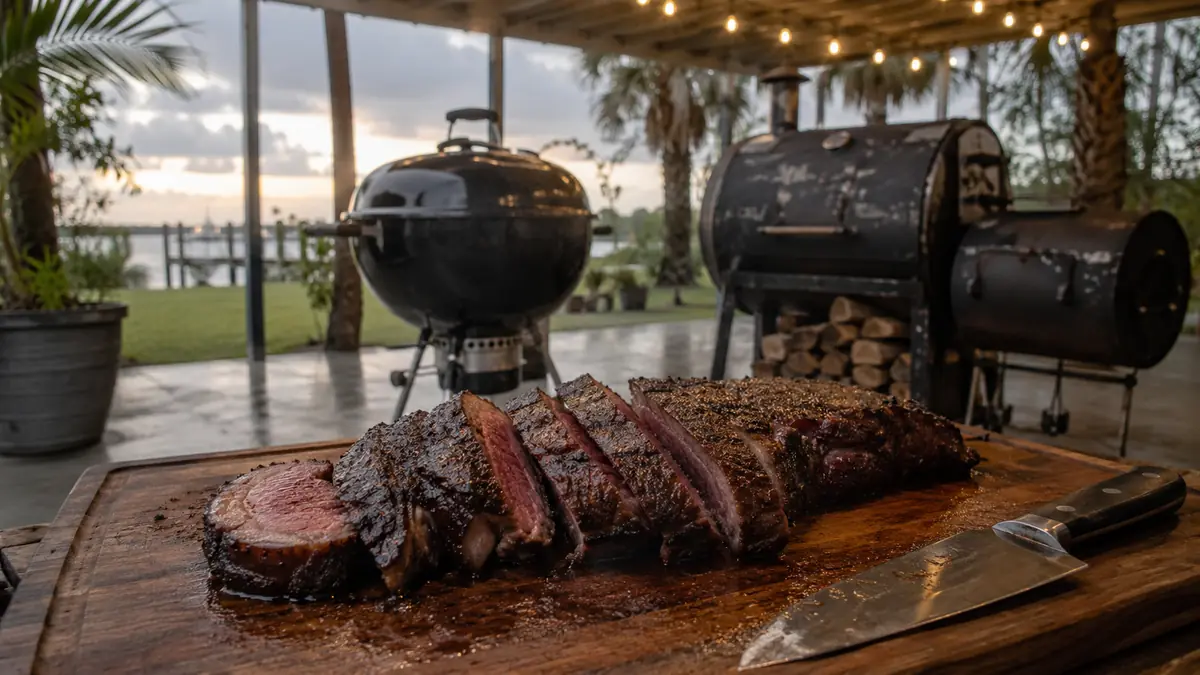
Set the steak on the grate at a diagonal angle to the ridges, not straight across them, since that angle is what gives you a true diamond pattern instead of plain parallel lines. Then leave it alone. This is the part that trips up more people than the preheat does, because the instinct is to check on it, nudge it, lift a corner to peek. Every one of those touches breaks the crust that is trying to form and drags it away with the meat instead of leaving it on the grate where it belongs. Give a one and a quarter inch ribeye about two minutes before you touch it again.
You will know it is ready to move when the steak releases from the grate on its own with light pressure from the tongs, no tearing, no resistance. That is your signal to rotate it about forty five degrees on the same side, not flip it yet, and give it another minute or two to lay down the second line of the crosshatch. Then flip and repeat the same two step, rotate pattern on the other side. If you catch yourself moving the steak before it releases cleanly, stop and give it thirty more seconds. A torn, half-formed crust never looks right no matter how you finish the cook from there.
Step 5: Move to the Cool Side to Finish, Then Rest Off the Grate
Once both sides have their crosshatch and a real dark crust, that direct cast iron heat has usually done its job before the inside of a thick steak is anywhere near done. Rather than leaving it over the hottest part of the fire and risking a burnt exterior, I slide it over to the cooler side of the kettle to finish climbing to temperature slowly, the same way I run a reverse sear when I set up a two zone fire with a charcoal basket on the other half of the grill. A thick cut benefits from this more than a thin one, but even a standard ribeye holds its crust better with a few gentler minutes than it does baking directly over the coals the whole way through.
Rest matters just as much as the sear itself, and it is the step people finish rushing right after they finally stop rushing the preheat. Pull the steak, tent it loosely, and give it five to ten minutes before you cut into it, so the juices redistribute instead of running out onto the board the moment you slice. One thing that is different here on the coast is what that resting time does to the crust. Humid air softens a good sear faster than dry air does, so I rest mine on a rack instead of flat on a plate, and I keep the tent loose rather than tight, since trapped steam under foil is basically a slow braise for the crust you just spent fifteen minutes building.
What Else Helps
If you catch a mistake partway through, you can usually still save the cook. A steak that went on a little wet just needs a longer first side before you rotate it, since it has more moisture to cook off before real browning starts, so do not rush the release just because the clock says it should be ready. A grate that was not fully preheated will still sear, just less dramatically, and the honest fix is to accept lighter marks this time and give it the full ten to fifteen minutes next time rather than trying to compensate with a hotter fire under a still-cold grate. If you moved the steak too early and tore the forming crust, flip to the other side, finish that one properly, and know the torn side will still taste right even if it does not photograph as well. The Weber sear grate is forgiving of an off night, it just will not give you its best marks on one.
I go through what a full year on this grate actually looked like, including the maintenance it asks for in Gulf Coast salt air, in my long-term review of the Weber sear grate, and I run through the everyday reasons it earns a permanent spot on my kettle in a separate list of what a cast iron sear grate changes about a normal cook. Between the two, you will have the full picture beyond just this one method, but the five steps above are the part that actually puts the marks on the plate.
The fire tells you how hot it is. The grate tells you how hot it actually got the meat. Those are two different things, and cast iron is what closes the gap between them.
Ready to Stop Guessing and Get a Real Crust?
This whole method only works because the grate underneath is holding its heat, not losing it the moment cold meat touches down. Check today's price on Amazon for the Weber Gourmet BBQ System sear grate and see if it fits your kettle.
Amazon Check Today's Price on Amazon →