
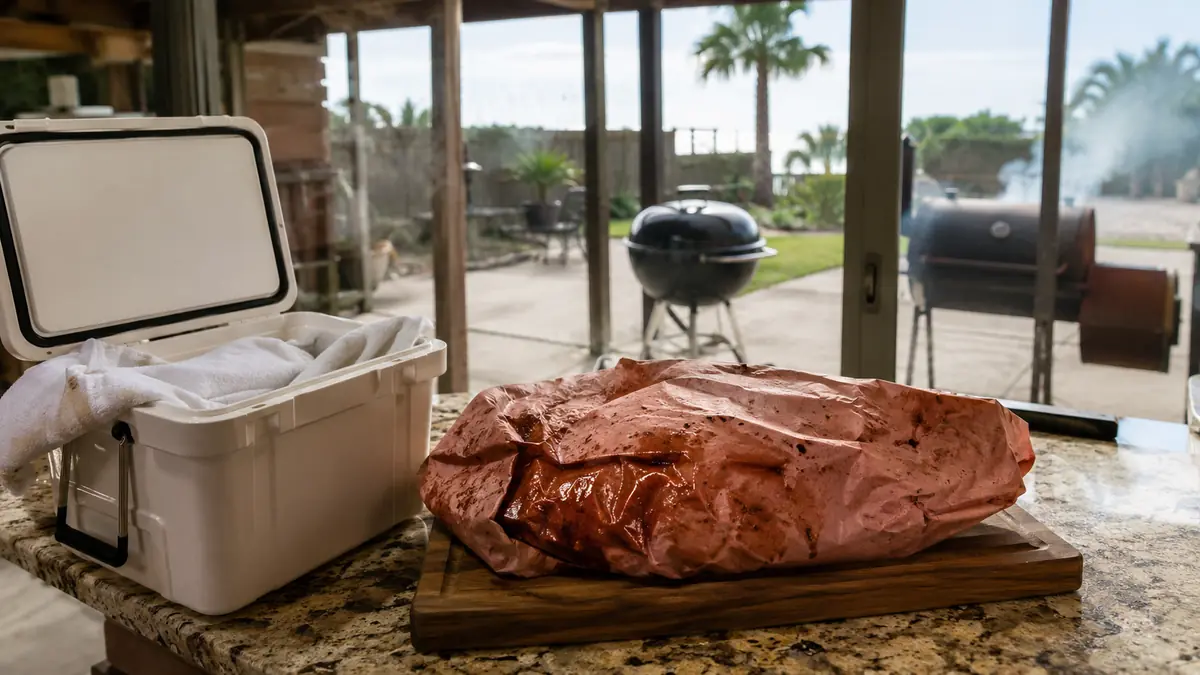
Every brisket I've ruined in twenty-some years of doing this died at the cutting board, not the smoker. I'd nail the bark, get a good bend test pulling it off the offset, then get impatient standing at the counter with Kara and Beto already circling the kitchen, and I'd start slicing while it was still too hot to hold its juice. That's the mistake nobody warns a new brisket cook about. The rest matters almost as much as the cook itself, and so does what you're carving it on. I switched to a Greener Chef board with an actual juice groove a couple of years back, and between fixing my patience and fixing my board, the amount of brisket that makes it to a plate instead of the counter has gone way up.
This is the routine I use every Sunday, from the moment I pull the brisket off my kettle or my offset, through the rest, the cooler hold if dinner isn't ready yet, and the actual carving, point separated from flat, grain found twice because it runs two different directions in the same piece of meat. None of it is complicated once you've done it a handful of times. But getting any single step wrong, pulling too early, slicing too soon, cutting with the grain instead of against it, undoes a lot of the work you put into the smoke. I'll walk through it the same way I do it in my own kitchen, in order, so you can follow along the next time a brisket comes off your grill.
Tired of Watching a Perfect Brisket Bleed Out on the Counter?
A big part of not losing juice at the carving stage is having a board built to catch it. The Greener Chef 30 by 20 board lays a whole packer flat with a real groove around the edge and a spout to pour off what it collects. See today's price and current availability on Amazon.
Amazon Check Today's Price on Amazon →Step 1: Know When to Actually Pull It
Temperature is a guide, not the finish line. I watch for around 203 to 205 degrees in both the point and the flat, but the number only tells me it's time to start checking. What tells me it's actually done is probing it in four or five spots, the thickest part of the flat, the fatty knuckle of the point, and feeling for that probe sliding in like it's going through soft butter, no resistance at all. If it still catches or feels firm anywhere, it goes back on, even if the thermometer already says it's there.
Wind off the Gulf messes with my kettle and my offset both, pushing heat around unevenly and stretching a cook longer than the same brisket would take somewhere still. I've learned not to trust a clock on brisket day at all, only the probe and the bark. If the bark looks soft or wet instead of set, it's not ready, no matter what the timer says. I've pulled briskets an hour ahead of where I expected on a calm December afternoon and an hour behind on a gusty August one, same cut, same rub, same smoker.
Step 2: Let It Rest Before You Touch a Knife
Resting isn't a formality. While the brisket cooks, the heat pushes moisture toward the surface and tightens up the muscle fibers, which is exactly why a brisket sliced straight off the smoker bleeds out fast and dry. Give it time sitting off heat, wrapped, and the fibers relax back down and pull a lot of that moisture back in. I rest mine a minimum of forty-five minutes to an hour, wrapped in the butcher paper it finished in, before I even think about a knife. The internal temperature actually keeps climbing a few more degrees during that window too, which finishes the cook without any more heat from the fire.
If dinner isn't for another few hours, I don't just leave it on the counter. I wrap the paper-wrapped brisket in a couple of old towels and set it inside an empty cooler, lid shut. That setup holds a safe temperature for hours, well above 140 degrees, without drying it out or overcooking it further. It's how I get a brisket that finishes at noon to a table that doesn't sit down until five, and it's saved more than one Sunday when the smoker ran faster than the rest of the meal. I'll check it once around the two-hour mark with an instant-read thermometer just to be sure it hasn't slipped, but it almost never has.
The mistake I made for years, and the one I still see Hollis make when he's rushing, is cutting into it the second it comes off the fire because everyone's standing around hungry. Slice a brisket that hasn't rested and you'll watch the juice run out in front of you, the slices going gray and stiff within a couple of minutes. There's no fixing that once it's happened. If you catch yourself reaching for the knife too early, the best recovery is simply wrapping it back up and giving it another twenty minutes. It's not too late until you've actually made the first cut.
Step 3: Set the Board Up So the Groove Actually Catches Something
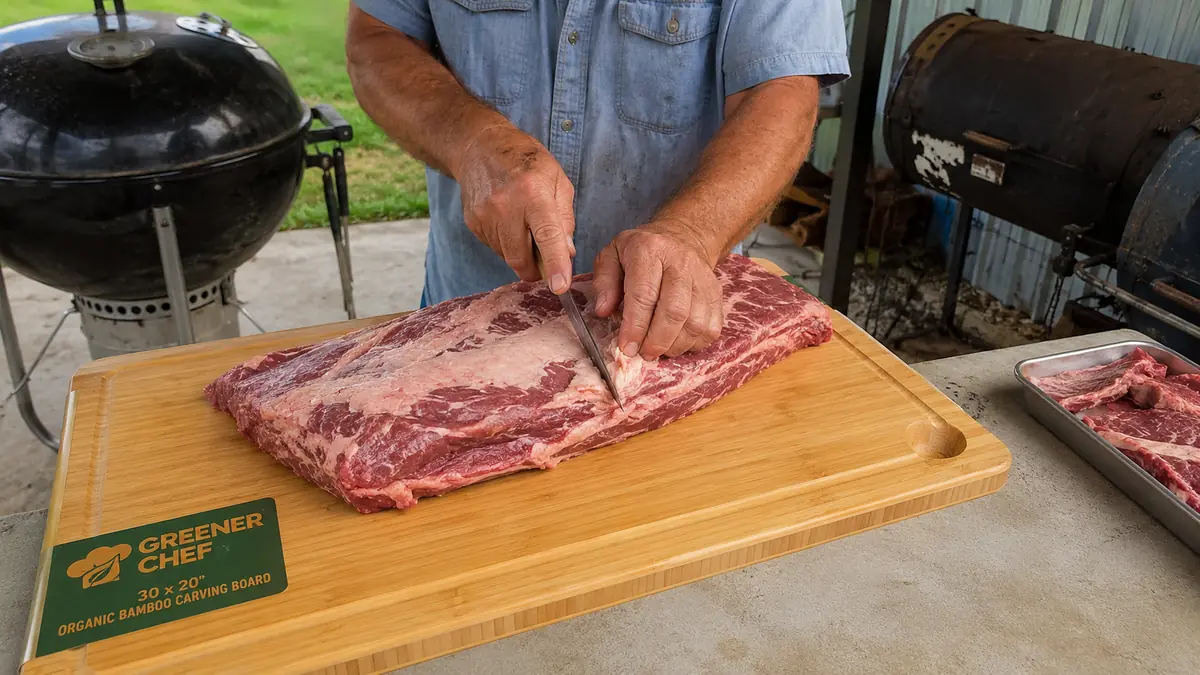
Where you put the board matters more than people expect. I set the Greener Chef board on a rubber mat near the edge of the counter, with the pour spout hanging slightly past the lip so gravity is already working with me instead of against me. A full packer, twelve to fourteen pounds with the fat cap on, lays completely flat on the 30 by 20 surface with room to spare on every side, which matters because a brisket that's crowded on a small board tends to hang off the edge exactly where the juice wants to run.
This is the step where a lot of boards fail before you've even made a cut. A flat cutting board, or one with a shallow decorative groove instead of a real trench, just sends everything straight onto the counter and the floor. I watched that happen at Hollis's place last summer, juice running off his board and pooling under the toaster before anyone noticed. He grabbed a roll of paper towels and we were still mopping up when the rest of us had already started eating. The Greener Chef groove is deep enough to hold close to a cup some weeks, and that's the entire difference between a mess you're mopping up mid-meal and juice you can actually use.
Step 4: Separate the Point from the Flat
Unwrap the rested brisket onto the board and look for the seam of white fat running between the two muscles, usually near the fatter end where the point sits stacked on top of the flat. It isn't always obvious at first glance, so I run my finger along the surface until I feel where the fat gets soft and thick instead of thin and firm. That's the seam.
Use the tip of your knife, not the full blade, and trace along that seam slowly, letting the fat guide you rather than forcing a straight line through muscle. Once the two pieces are apart, you're working with two separate cuts of meat that need to be handled differently, which is exactly why this step can't be skipped. Trying to carve a whole brisket in one motion, point and flat together, is how people end up slicing straight through the grain of one muscle while following the grain of the other. Set the point aside on one end of the board while you finish the flat, so the two don't get mixed back together before you've found the grain on each.
Step 5: Find the Grain, and Watch It Change on You
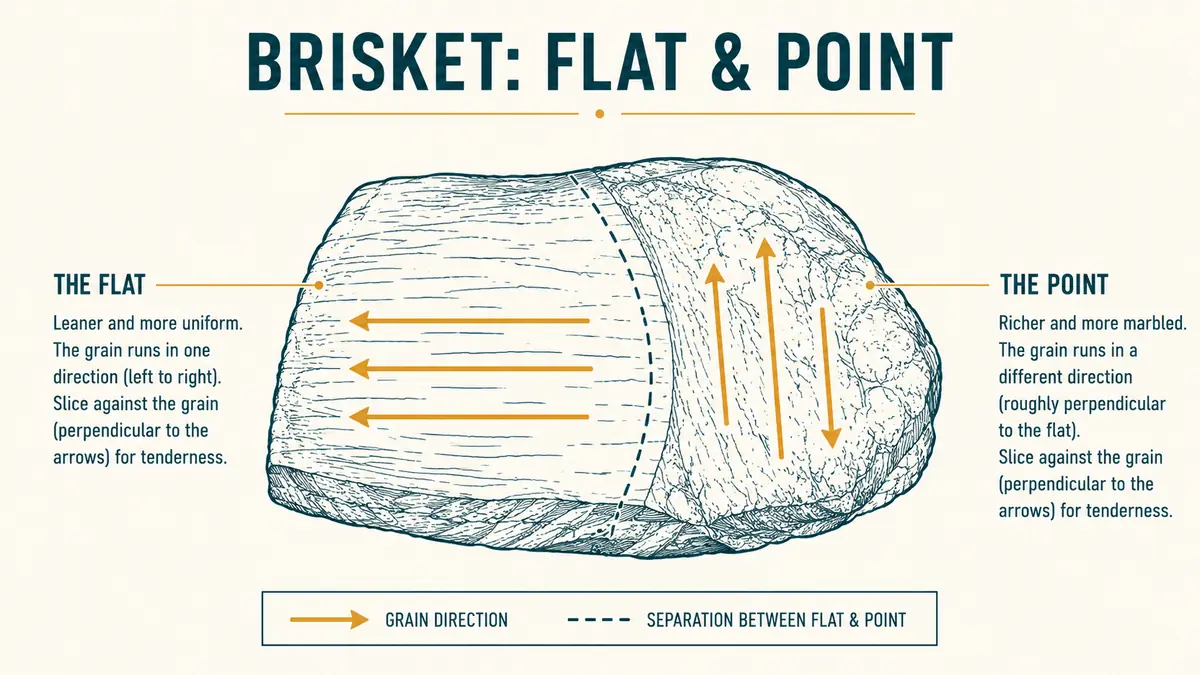
The flat's grain runs the long way, lengthwise down the piece, and it's usually easy to spot once you're looking for it. Turn the flat on the board so the muscle fibers run left to right in front of you rather than toward and away from you, and you'll see faint parallel lines running along the surface, almost like the grain in a piece of wood. That direction is what you're cutting across, not along.
The point is where people get caught out, because its grain often runs at close to a right angle to the flat's. What looks like the correct slicing direction if you just kept going from the flat is actually running with the grain on the point, and you'll know instantly because the slices come apart stringy and chewy instead of tender. Stop, rotate the piece on the Greener Chef board, and find the new grain direction before making another cut. It takes an extra thirty seconds and it's the single biggest reason a whole brisket can taste great on one half and tough on the other. When Tessa asks why some pieces pull apart so easily and others don't, this is what I'm actually checking for before every cut.
Step 6: Slice to the Right Thickness, and Don't Waste What You Caught
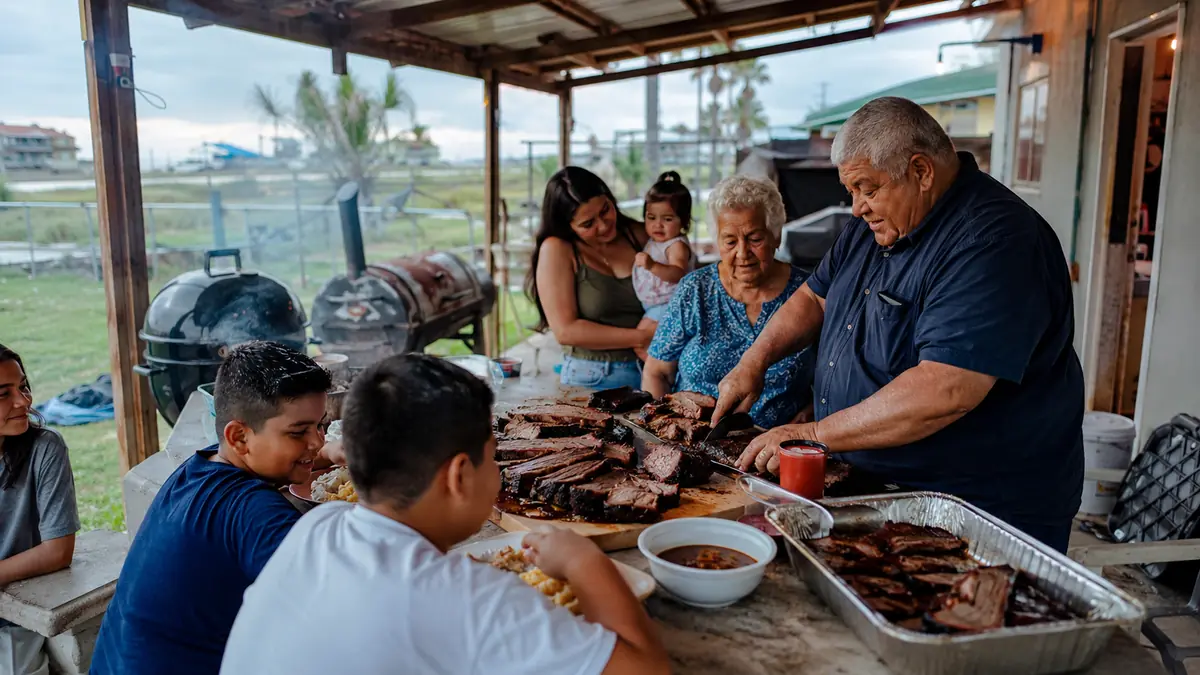
I aim for slices about the thickness of a pencil, roughly a quarter inch, cutting straight down against the grain in one smooth pull of the knife rather than sawing back and forth. Slices much thinner than that fall apart when you pick them up. Much thicker and they're a chore to chew even when the brisket itself came out tender. The flat slices clean and even. The point, being fattier and less uniform, I usually cut a little thicker and sometimes chop into rough cubes instead if I'm setting some aside for burnt ends.
By the time you've worked through both halves, there should be real liquid sitting in the groove of the board. Tip the Greener Chef board toward the spout and pour that straight into a bowl instead of letting it sit there or wiping it away with a towel. Kara spoons it back over the sliced brisket the way you'd use au jus, and it's turned from something I used to lose into something we actually plan around at the table. If there's more than we need that day, I'll refrigerate it and use it as the base for a pot of beans later in the week, and it beats anything I could pour out of a jar.
What Else Helps
Most of what ruins a brisket at this stage traces back to the same handful of mistakes: pulling it too soon, slicing before the rest is done, cutting with the grain instead of against it, and using a board that has nowhere for the juice to go. Fix those four things and the actual carving takes maybe ten minutes from first cut to plate. I'd also say don't fight the Gulf Coast humidity on this one. It swells wood boards a little and clumps rub on the meat itself, but neither of those touches how the brisket carves once it's rested right, they're just part of cooking here that I've made peace with. Keep a sharp slicing knife on hand too, a dull one drags through the meat and tears the surface instead of making a clean cut, which matters more on a rested brisket than almost anything else in this list.
For more on how the board holds up over time in weather like mine, I get into that in my long-term review of the Greener Chef board, and if you're still deciding between wood and plastic for something this size, I laid it out plainly in wood versus plastic for carving a whole brisket. I also put together ten reasons a big carving board earns counter space if you're still on the fence about sizing up at all.
A brisket that rests right and gets carved on a board built to catch what it gives up isn't a different recipe. It's the same brisket, just not losing half of itself on the way to the plate.
Stop Losing Brisket Juice to Your Kitchen Counter
This is the board I reach for every Sunday, big enough for a whole packer with a groove deep enough to actually hold what it catches. Check today's price on Amazon and see if it's in stock.
Amazon Check Today's Price on Amazon →